Motorcycle Restoration Planning – Breaking Your Project Into Manageable Segments

Restoring motorcycles has been a long, 40+ year dream that became a hobby many years ago. As a hobby, it’s given me years of enjoyment and fulfillment of those years waiting. I’ve met many of my best friends in the process of restoring and collecting too. The restorations had me reaching out to people and businesses all across the world for parts, knowledge, and resources. It’s really amazing how much the Internet changed the How, What, and most significantly, the Quality of restoring I could accomplish. Starting in the mid 90’s, the Internet boom gave us forums, message boards, and on-line shopping where we could learn and find better parts. In just a few short years, NOS parts long gone from local dealerships could be purchased off of eBay and other valuable sites. With today’s Internet resources, I believe it is possible to produce almost any production motorcycle ever made from new, NOS or pattern parts. It is possible to build a vintage machine today and do it better than it was new – you can “Google” and buy today what was practically impossible to find 20 years ago…..

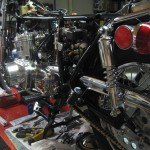
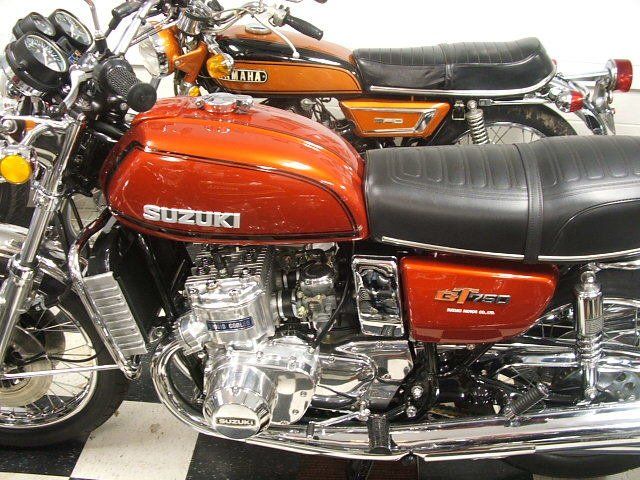
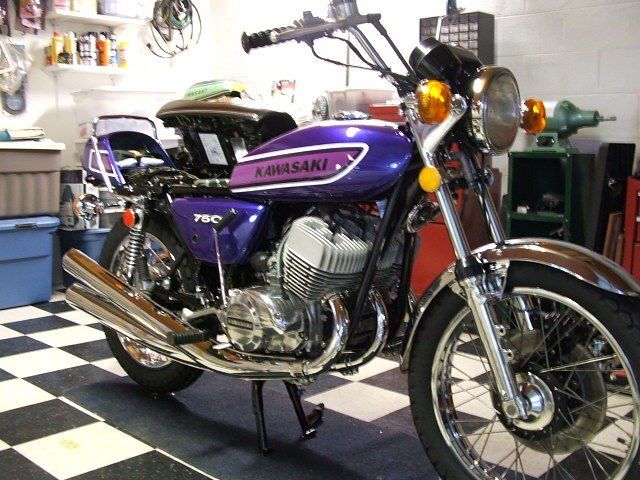
Way too often, I run into people that see me out on one of my old, antique machines that say “I had one of those”, or “I had a (put your favorite here) and I wish I still had it”. Well, “Wishing won’t do it” I tell them. “Go home tonight and start looking on the Internet. Someone has one they don’t want and will sell it”. I can only hope that some of you have taken or will take my advice and replace your memories. For those that have or will do, I want to share these steps that I’ve learned through many years of restoring and my collecting of vintage motorcycles. Keep in mind as you read and look at the photos, all of these were done out of my home’s garage. No fancy shop, just good tools and a love for the process of restoring. You can do it too, just break it down into small, manageable steps that you can do daily, weekly, or 2 months later – all at your pace and you won’t get lost.
Manageable Segments
- Start each project with a trip to your local mass retailer. There you will purchase 4 to 5 large plastic bins, preferably those with clear sides so you can see the contents.
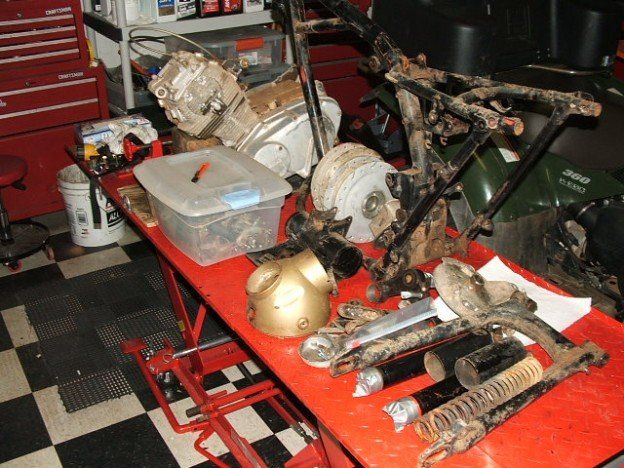
- Dissemble the bike completely. except for the engine. (You’ll pull it and set it aside for now). The parts go into bins labeled 1, 2, and 3.
- Parts good enough to be reused after being painted or powder coated go into bin #1
- Parts good enough to be reused after being polished or chrome plated go into bin #2
- Everything else – parts that you know are damaged, broken, chewed, or incorrect go into bin #3, 4 (Don’t throw anything away yet). Depending on which model you’re working on, there could be parts that simply aren’t on this planet and you may need to get a pattern or pattern part made from the original. This was the case with my 1967 Honda Black Bomber CB450K0 shown in some of the photos. There were 2 front fork pieces and the seat hinges that were impossible to find, so I had them reproduced at a local machine shop. Those originals I’d kept months earlier made patterning possible – Don’t throw it away until you have it’s replacement “in hand”.
- Concentrate on the work and parts to getting a rolling frame. Painting or powder coat is your choice and should be made based on your preference and access. You’ll move onto the swingarm, front forks, handlebar, and shocks so that your “Rolling Frame” is ready for wheels.
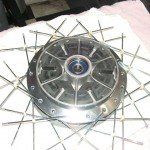
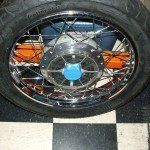
- Next up are the wheels. Make sure you put the time and effort into making these as good as your ultimate goal for the restoration project. Great looking wheels can make an average restoration look better, but do keep in mind that poor or average wheels will hold your restoration to that level. Put simply – Wheels are Important. So you’ll strip, highly polish, new bearings, new seals, new or re-plated spokes, new or chromed rims, and new rubber.
- Assemble the roller and move it out of the way. I like having a lift table so I can sit with my favorite tunes and rest my tools (Harbor Freight $315) so my project would come off the table once rolling. Now that my “roller is ready” – I’ve got the Perfect place for a completed engine. Since I’ve moved my roller, I also have a clean place to “Build” or “Refinish” my engine.

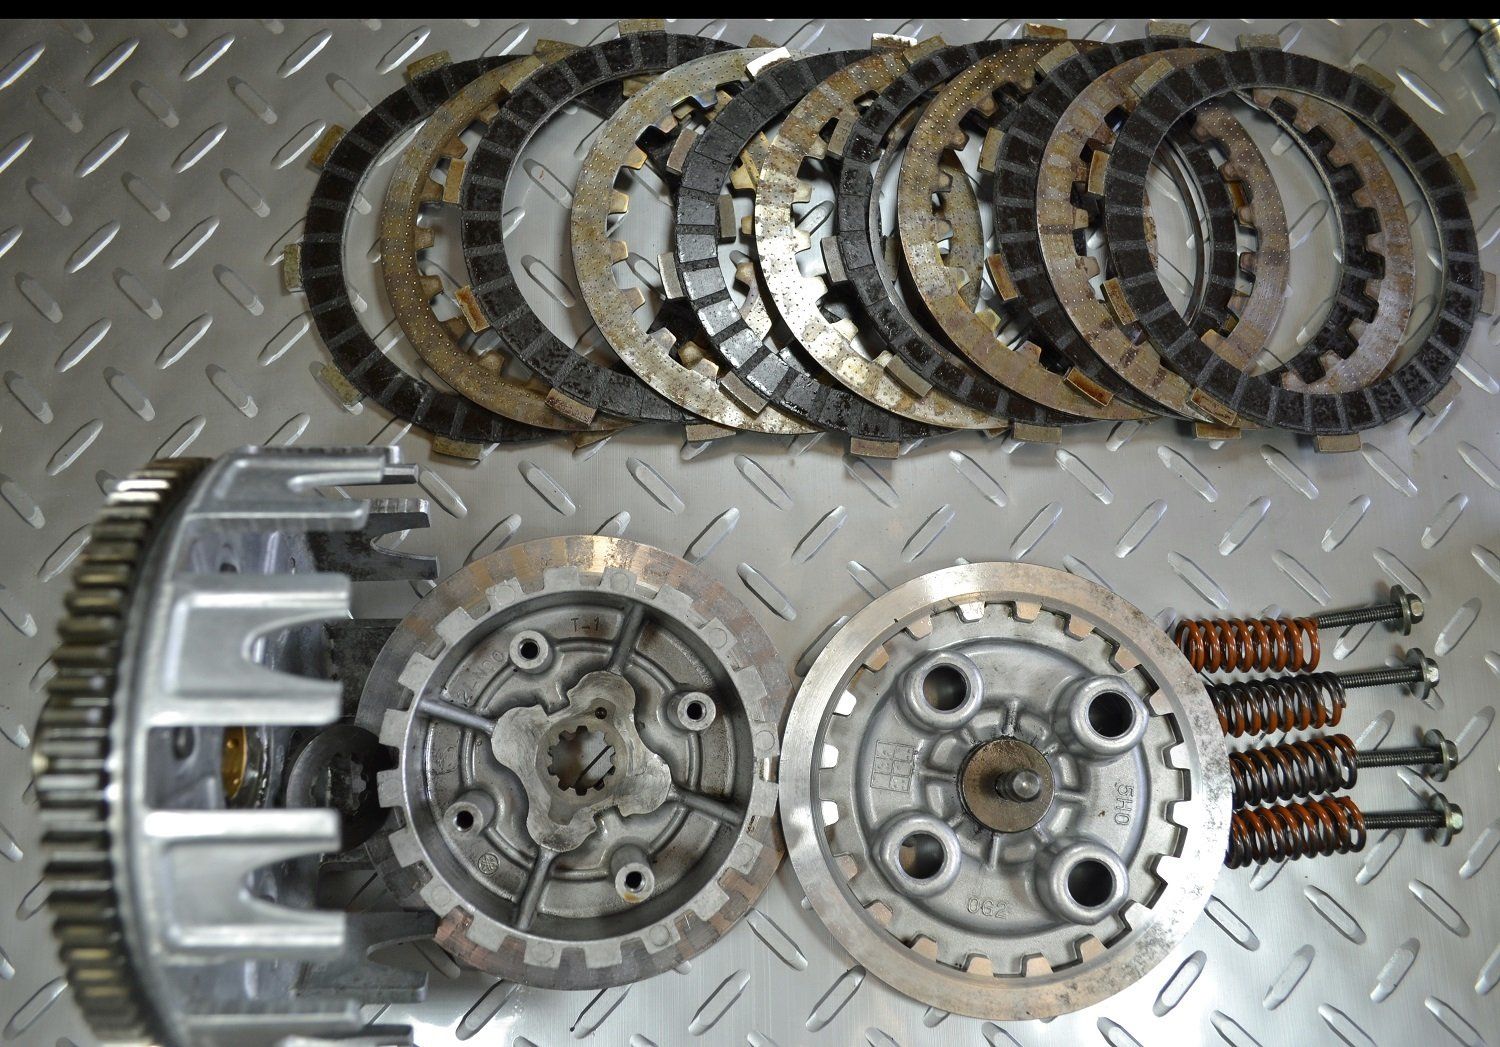
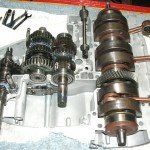
- Disassemble the engine and the cases. I use Zip-Loc bags and a Sharpie to group assemblies together. I use a parts fiche that I’ve printed on-line to define assemblies and always keep those parts to one bag (Gallon sized if needed). This is so important because we don’t do this every day and might find ourselves away from the project for a few weeks or more. All of these grouped and labeled Zip-Locs go into one of the remaining bins we started with.
- Cleaning, measuring, and deciding which engine parts are usable, have to be refinished, or replaced. Affect those repairs, new bores, and replacements as needed.
- Assembly time – you’ll have all your cleaned engine parts, new seals, new bearings, and screws/bolts/washers/nuts (refinished or replaced) ready and laid-out in fiche groups for easy identification. Tip – Keep new parts in their original bags so you have the part numbers handy for fiche ID. Some seals and parts are close in size and appearance, so don’t rely on your memory – use the part numbers and that fiche!
- Assemble the engine with a surgical clean approach. I keep carb cleaner and clean towels on-hand. Make sure that you follow the manual for specified lubes, 1104 Bond, placement of seals, rings, circlips, dowels, spacers, thrust washers, ect.
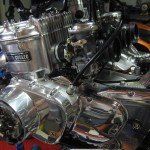
- Install that new, clean, and eye-catching engine into it’s waiting and ready “Rolling Frame”. It’s the perfect place for a finished engine and this is why we save the engine for last.
- Completing the wiring and detailed finishing of bolt-on components like battery boxes, carburetors, rectifier, switches, brake levers, ect in the reverse order you took them off. Take your time and look at every component – Ask yourself, Does it have the same standard as my restoration? – If not, refinish, restore, or replace it so that your restoration goals are not compromised.
The Restoration at the end is only going to be as Good as the smaller Components you assemble it with. Don’t get in a hurry. Each of these took me many months to restore. Some took a year or more. Do it for the love of it and you’ll have your dream bike and your memories for a lifetime.
Painting a Motorcycle Frame
Published on Oct 24, 2015
http://www.rrrtoolsolutions.com/articles/all-articles/
Watch as we mix and apply Single Stage Urethane Paint to our motorcycle frame project using a HVLP paint gun
Get professional results at home using a hobbyist compressor and inexpensive High Volume, Low Pressure tools
Thank you for Following
Related Articles